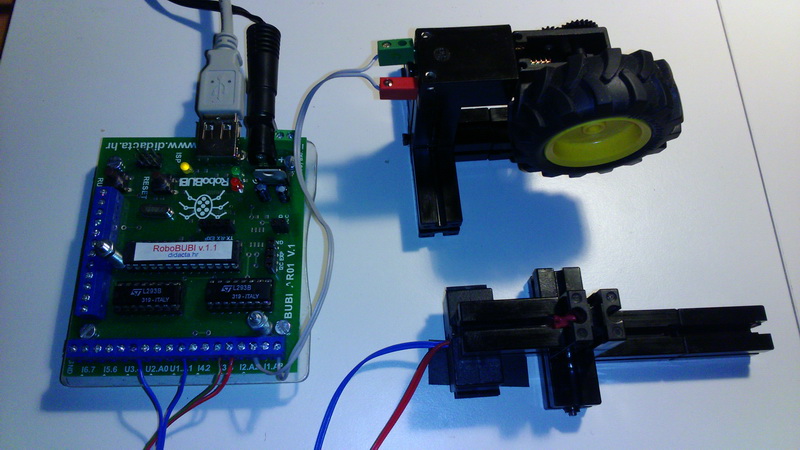
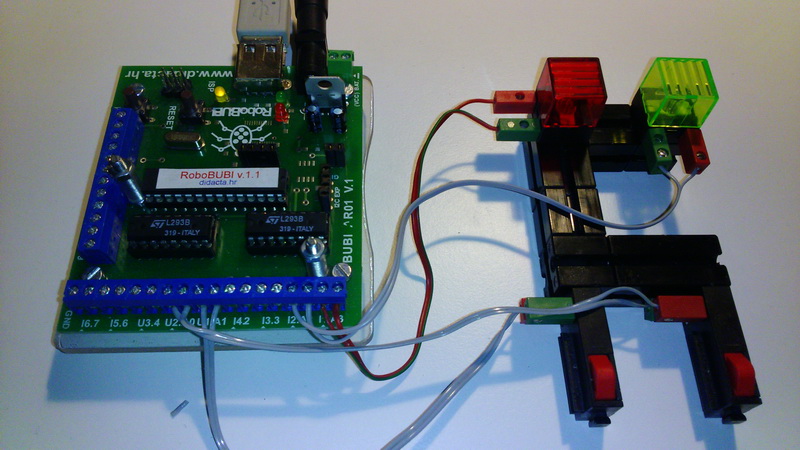
Connect the motor to OUTPUT 1 and 2 (I1.A3 (A3) and I2.A2 (A2)). Connect the IR sensor to the INPUT 1 and 5 power supply (U1.A1 and U3.4). Connect the sensor power to OUTPUT 3 (I3.3).
PROGRAM TASK:
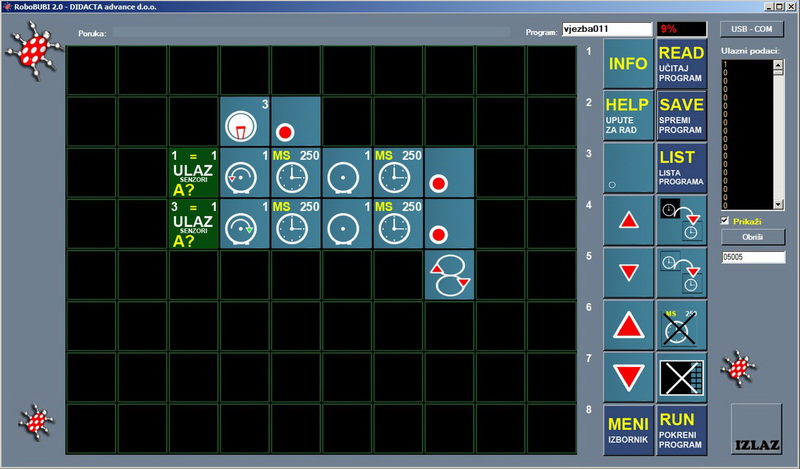
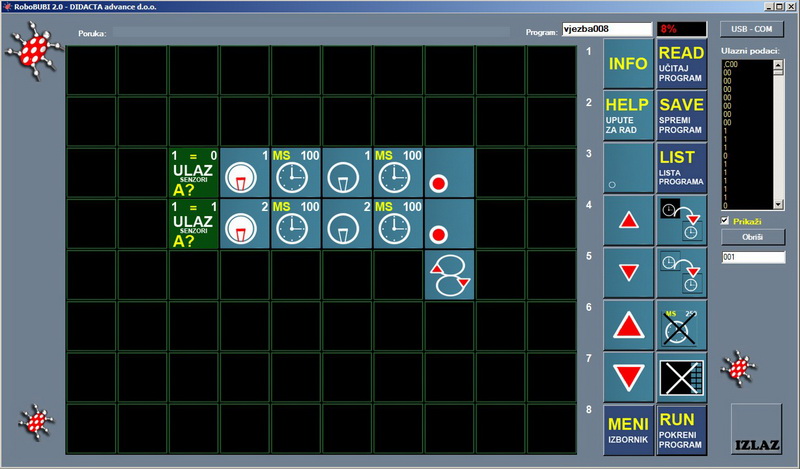
When the left sensor has a signal, the WHEEL (motor) must start to rotate to one side, and when the right sensor has a signal, the WHEEL (motor) must start to rotate to the other side. When both sensors have a signal, WHEEL (motor) must stop.
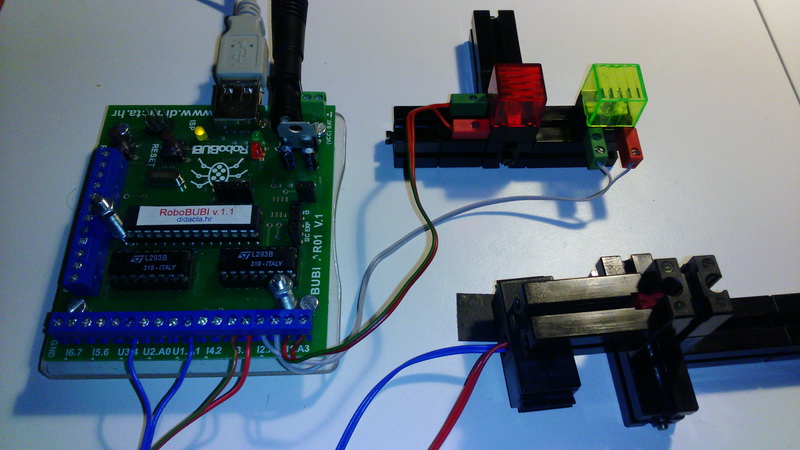
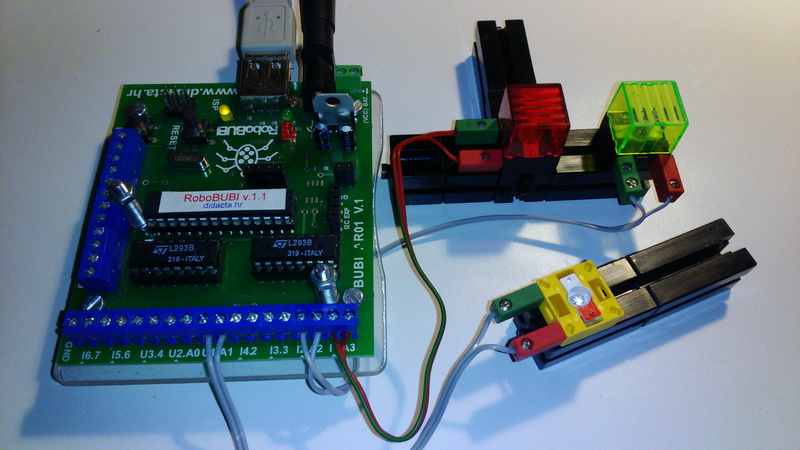
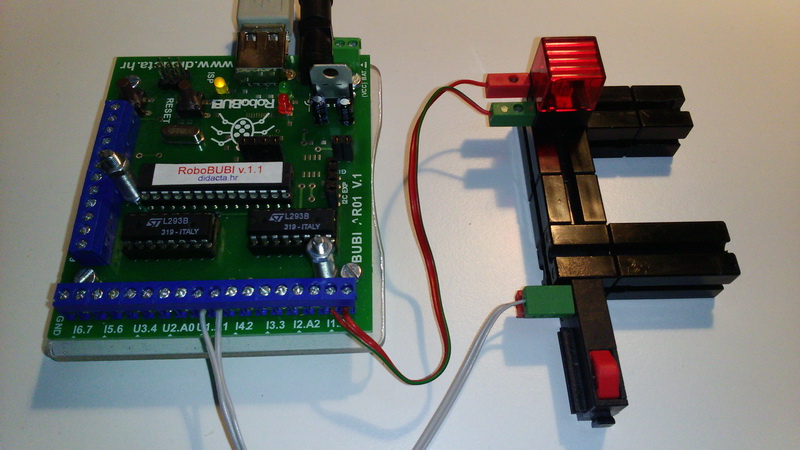
Connect the RED light to OUTPUT 1 (I1.A3) and GREEN to OUTPUT 2 (I2.A2). Connect the IR sensor to the power supply (OUTPUT 3 - I3.3) and to INPUT 4 (U4.12) and INPUT 5 (U5 .8).
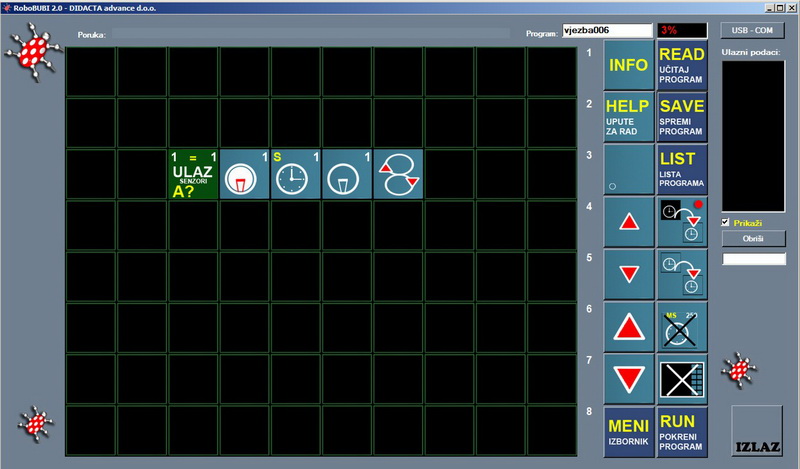
PROGRAM TASK:
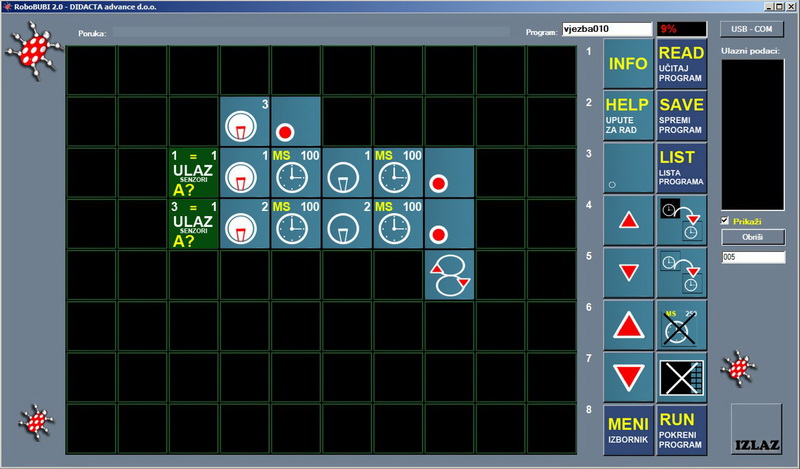
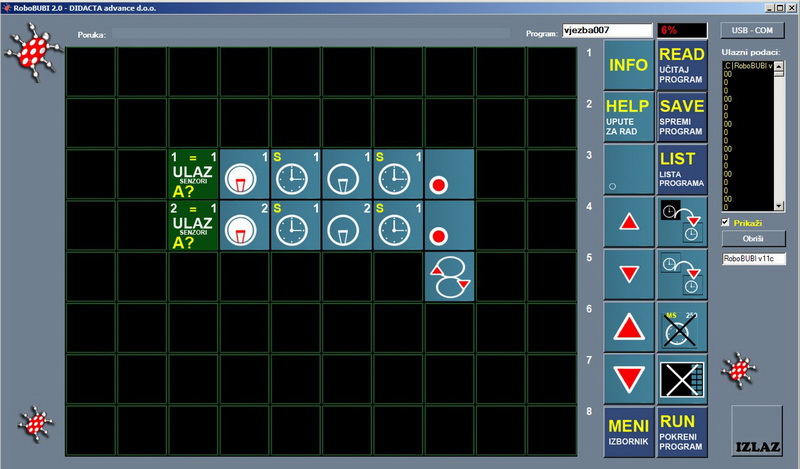
When the left sensor has a signal, the RED indicator light should turn on, and when the right sensor has a GREEN LED signal mark. When both sensors are in the line, the RED lamp lights up.
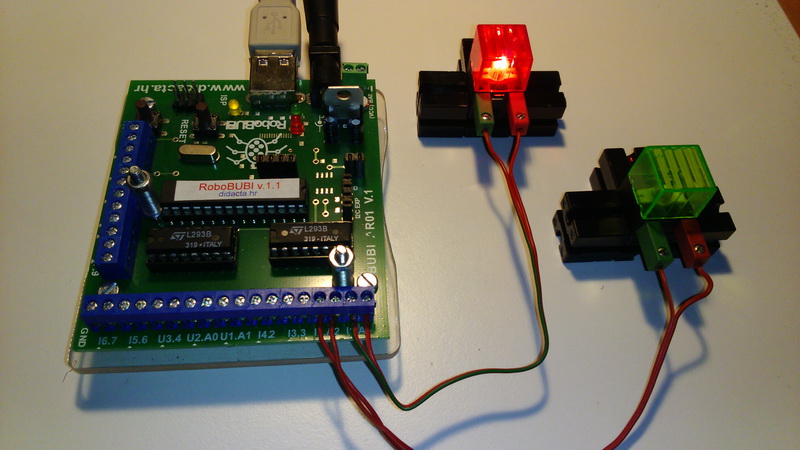
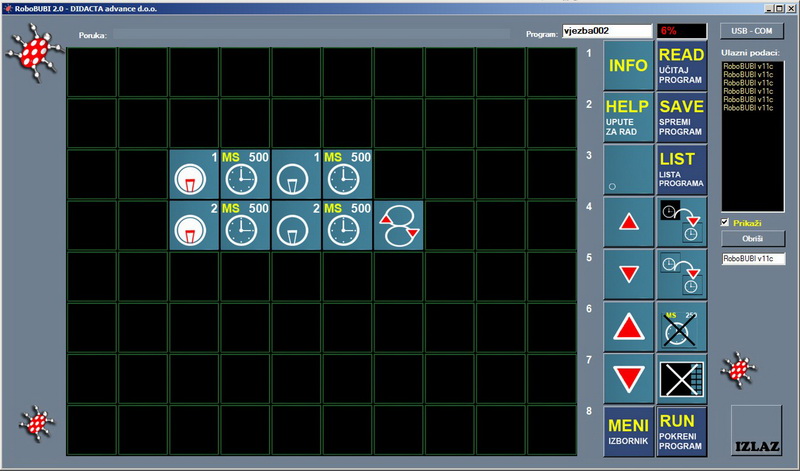
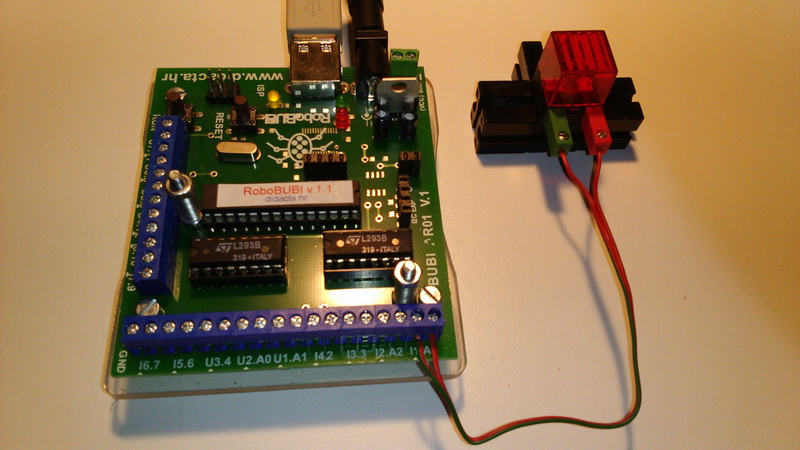
Connect the RED lamp to OUTPUT 1 (I1.A3), and GREEN to OUTPUT 2 (I2.A2). Connect the PHOTOSENSOR to INPUT 1 (U1.A1).
PROGRAM TASK:
When the photo sensor has a signal, the GREEN lamp should turn on for 0.2 seconds. If the photo sensor does not have a signal, the RED indicator light for 0.2 seconds should be on. Use ANALOGUE Input Sensor Values - INPUT 1.
Connect the RED lamp to OUTPUT 1 (I1.A3) and GREEN to OUTPUT 2 (I2.A2). Connect the PHOTOSENSOR to INPUT 3 (U3.4).
PROGRAM TASK:
When the photo sensor has a signal, the GREEN lamp should turn on for 0.2 seconds. If the photo sensor does not have a signal, the RED indicator light for 0.2 seconds should be on.
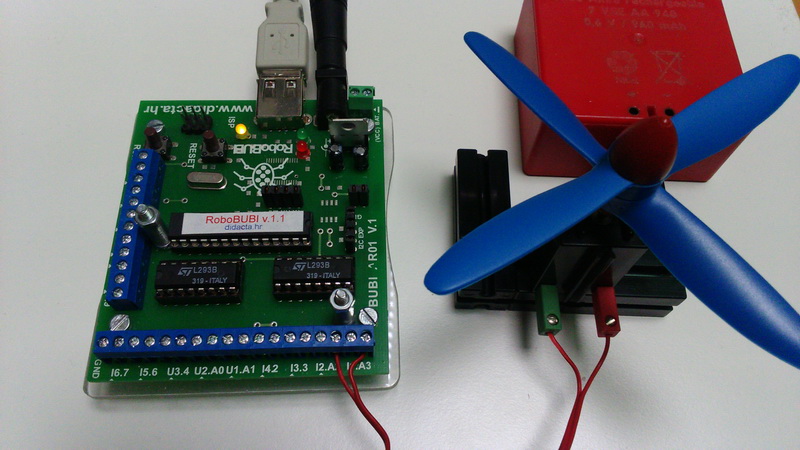
Connect the motor to OUTPUT 1 and OUTPUT 2 connector.
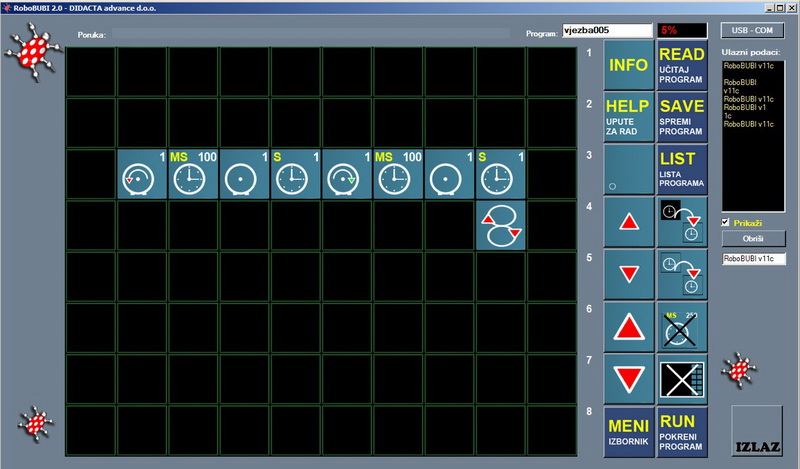
PROGRAM TASK:
The motor should run on one side 100 milliseconds. Stop the motor for 1 second. Run the emotor to the other side for 100 milliseconds. Stop the motor for 1 second. Repeat.
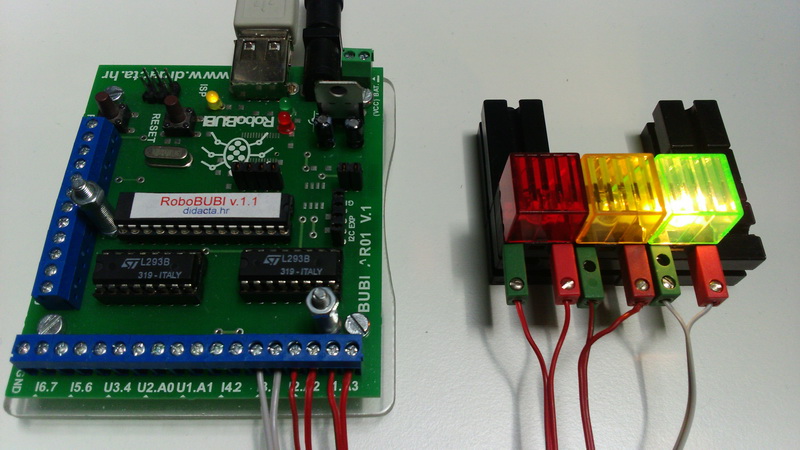
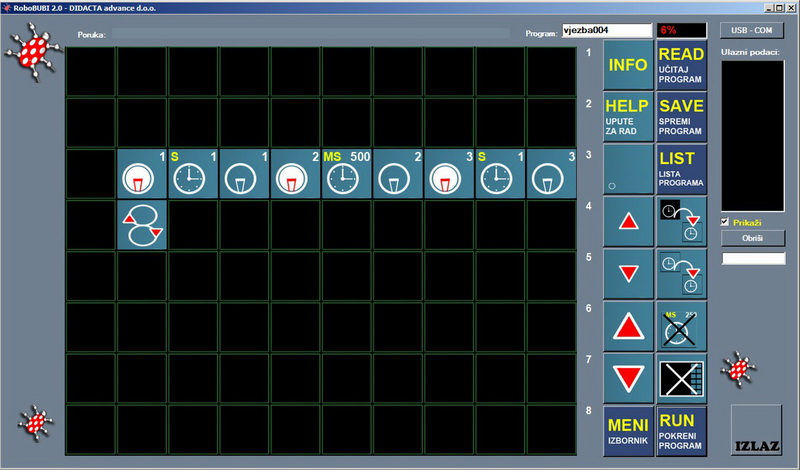
Connect the RED lamp to OUTPUT 1 and YELLOW to OUTPUT 2 and GREEN to OUTPUT 3.
PROGRAM TASK:
Turn on the RED light for 1 second. Turn off the RED and turn on the YELLOW lamp for 0.5 seconds. Shut YELLOW and turn on the GREEN lamp for 1 second. Repeat.
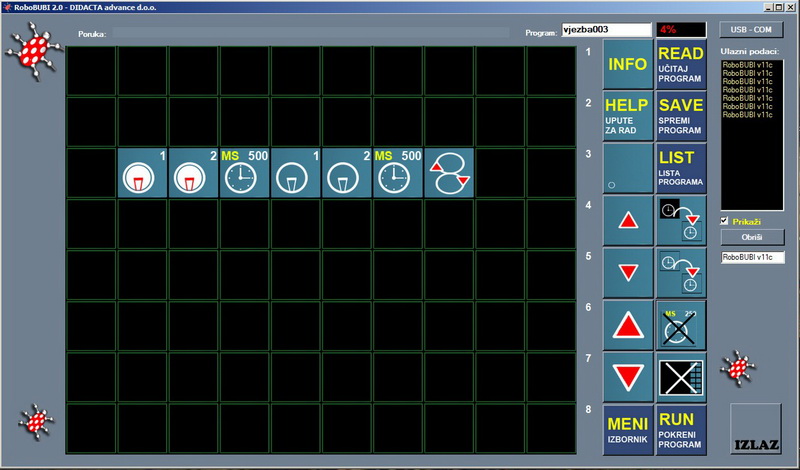
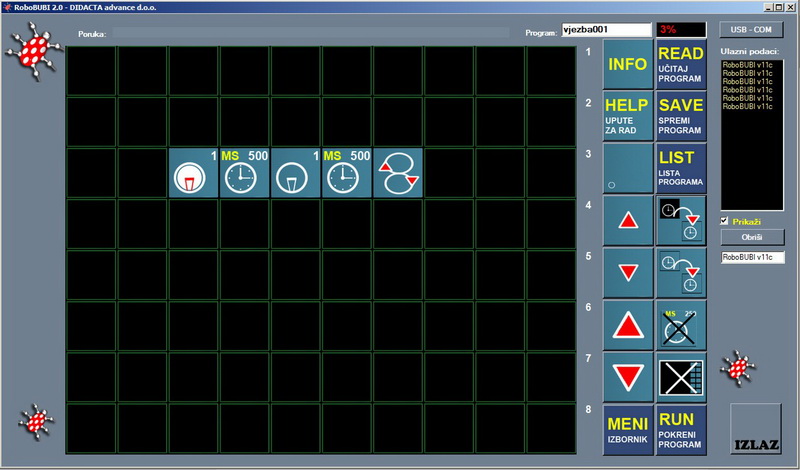
Connect RED light bulb to OUTPUT 1, and GREEN to OUTPUT 2.
PROGRAM TASK:
Turn on the red light for 0.5 seconds. Turn off the red light for 0.5 seconds. Turn on the green light for 0.5 seconds. Turn off the green light for 0.5 seconds.